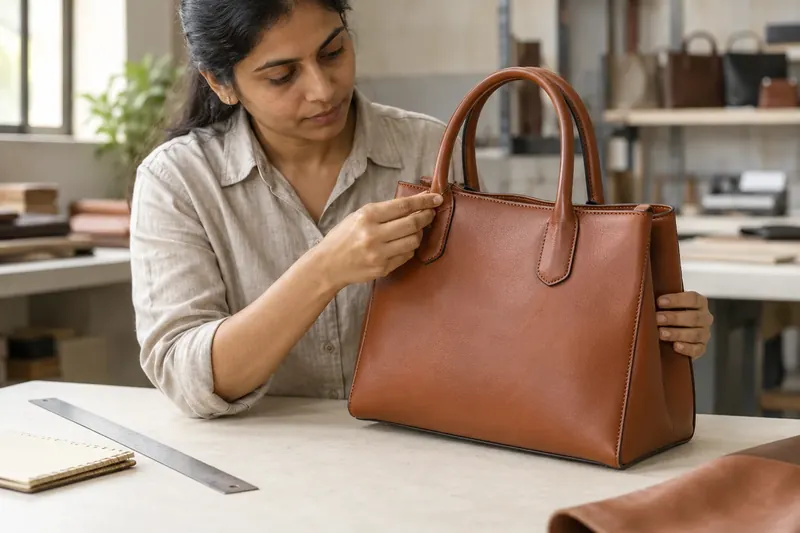
A bag can look right in a photograph and feel different in the hand. Open the zip, use the pockets, adjust the strap and carry it with the contents it was designed for. Then compare what you find with the brief. Precise feedback gives the sampling team something they can act on.
Check shape and measurements
Measure the sample using the method agreed in the brief. Compare the height, width, depth, opening and handle drop. Check how the shape sits both empty and with its intended contents. Record any difference against the specific measurement it affects.
Follow the stitching and edges
Look along seams and around corners. Review stitch spacing, alignment, lining, edge finish and the points where handles and straps attach. Use close photographs to mark a correction, and state the finish you expect.
Use the hardware
Open and close the zip through its full path. Try the clasp, strap adjustment and pocket access. Check whether the fittings work comfortably with the leather and construction. Record functional concerns separately from preferences about appearance.
Keep test requirements in the review
A visual check does not establish chemical or performance results. Review the material reports and any additional testing agreed for your order alongside the physical sample. Match each report to the material or sample reference it covers.
Put the approval in writing
List the approved sample version, dimensions, materials, colours, hardware and branding. Add every agreed correction and identify anything still open. Keep a reference sample and a single written approval record for production.
Record a decision, not just a comment.
For each point, record the sample version, location, observation and required change. Separate a measurable issue, such as an opening dimension, from a design preference. Agree the acceptable reference before production and share the inspection criteria with the team.
Review crossbody sampling details